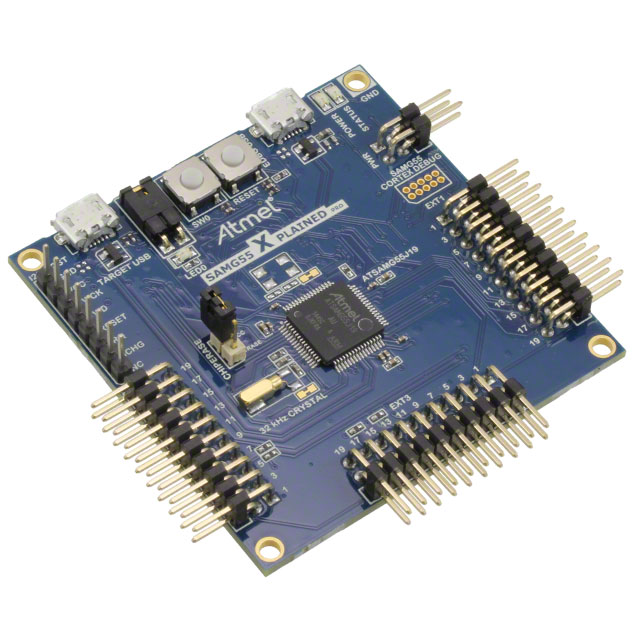
Compiling, flashing and debugging SAMG55 Xplained Pro firmwares on Linux
This short article illustrates how to compile, flash and debug Microchip SAMG55 Xplained pro ASF projects on Linux.
Although being a very complete solution, Microchip Studio is quite an heavy tool and is only compatible with Windows.
We will use Atmel ASF combined with open-source tools to accomplish those tasks.
Compile ASF projects
First we have to fetch ASF source code.
git clone https://github.com/avrxml/asf
We need to install the appropriate toolchain to compile arm projects : gcc-arm-none-eabi.
# For Arch based distros, toolchain is available on AUR
yaourt -S gcc-arm-none-eabi-bin

# Debian based distros
apt install gcc-arm-none-eabi
We are now ready to compile the getting started example project :
cd asf/sam/applications/getting-started/samg55j19_samg_xplained_pro/gcc

# simply run make
make
In the toolchain was correctly installed, it should produce the following output :
CC      sam/utils/syscalls/gcc/syscalls.o
LN      getting-started_flash.elf
SIZE    getting-started_flash.elf
getting-started_flash.elf  :
section              size         addr
.text              0x462c     0x400000
.ARM.exidx            0x8     0x40462c
.relocate           0xa48   0x20000000
.bss                 0xf8   0x20000a48
.stack             0x3000   0x20000b40
.ARM.attributes      0x2e          0x0
.comment             0x4d          0x0
.debug_info        0xca50          0x0
.debug_abbrev      0x27da          0x0
.debug_loc         0x4be2          0x0
.debug_aranges      0xa38          0x0
.debug_ranges       0xd88          0x0
.debug_macro      0x15db6          0x0
.debug_line        0xeb17          0x0
.debug_str        0x5379e          0x0
.debug_frame       0x2300          0x0
Total             0x97b26


   text    data     bss     dec     hex filename
    0x507c     0x0  0x30f8   33140    8174 getting-started_flash.elf
    OBJDUMP getting-started_flash.lss
    NM      getting-started_flash.sym
    OBJCOPY getting-started_flash.hex
    OBJCOPY getting-started_flash.bin
We are now ready to flash the eval board with compiled firmware.
Flash with EDBG
First solution is to use Ataradov very useful edbg tool.
It is compatible with many EDBG based boards.
We need to fetch and compile the sources.
git clone https://github.com/ataradov/edbg.git
cd edbg/
make -j4

# Install and load atmel edbg udev rules
sudo cp 90-atmel-edbg.rules /etc/udev/rules.d
sudo udevadm control --reload
Reconnect the eval board and dmesg should provide the following output :
sudo dmesg

[143801.434681] usb 1-1: USB disconnect, device number 38
[143804.845426] usb 1-1: new high-speed USB device number 39 using xhci_hcd
[143804.989445] usb 1-1: config 1 interface 2 altsetting 0 bulk endpoint 0x84 has invalid maxpacket 64
[143804.989458] usb 1-1: config 1 interface 2 altsetting 0 bulk endpoint 0x5 has invalid maxpacket 64
[143804.990062] usb 1-1: New USB device found, idVendor=03eb, idProduct=2111, bcdDevice= 1.01
[143804.990073] usb 1-1: New USB device strings: Mfr=1, Product=2, SerialNumber=3
[143804.990079] usb 1-1: Product: EDBG CMSIS-DAP
[143804.990082] usb 1-1: Manufacturer: Atmel Corp.
[143804.990086] usb 1-1: SerialNumber: ATML2393031800001853
[143804.997386] hid-generic 0003:03EB:2111.001F: hiddev99,hidraw8: USB HID v1.11 Device [Atmel Corp. EDBG CMSIS-DAP] on usb-0000:00:14.0-1/input0
[143804.998083] cdc_acm 1-1:1.1: ttyACM0: USB ACM device
Firmware can now be flashed on the board.
We specify the MCU target (samg55), the operation to perform (program and verify) and the firmware binary.
./edbg --verbose --program --verify --target samg55 --file getting-started_flash.bin

Debugger: ATMEL EDBG CMSIS-DAP ATML2393031800001853 03.25.01B6 (S)
Clock frequency: 16.0 MHz
Target: SAM G55J19 (Rev A)
Programming......,......................................... done.
Verification............................................ done.
MCU is flashed !
It is possible to list all compatible targets with :
./edbg --target list
Flash and debug with GDB and openOCD
In this part we will use the Open On-Chip Debugger in combination with GDB to flash and debug our firmware.
We need OpenOCD v 0.11 or newer to have full SAMG55J19 support.
# Arch based
pacman -S openocd

# Debian
apt install openocd
For this step we need to install GDB with ARM architecture support.
It is provided by the package gdb-multiarch.
# Only on AUR for Arch based distros
yaourt -S gdb-multiarch

# Debian
apt install gdb-multiarch
It is now possible to start OpenOCD which will connect to the target and expose a TCP server to GDB.
OpenOCD must know the MCU target, the interface or the board to connect.
Those parameters can either be set on the commandline or in a dedicated cfg file.
Note : list of supported targets, interfaces and board can be found at the following path :
/usr/share/openocd/scripts/board/
/usr/share/openocd/scripts/interface/
/usr/share/openocd/scripts/target/
For SAMG55 Xplained Pro evaluation board, the following configuration can be used :
sudo openocd -f interface/cmsis-dap.cfg -f board/atmel_samg55_xplained_pro.cfg
The following output should be printed.
Open On-Chip Debugger 0.11.0
Licensed under GNU GPL v2
For bug reports, read
http://openocd.org/doc/doxygen/bugs.html
Warn : Interface already configured, ignoring
Info : auto-selecting first available session transport "swd". To override use 'transport select <transport>'.
Info : Listening on port 6666 for tcl connections
Info : Listening on port 4444 for telnet connections
Info : CMSIS-DAP: SWD  Supported
Info : CMSIS-DAP: FW Version = 03.25.01B6
Info : CMSIS-DAP: Serial# = ATML2393031800001853
Info : CMSIS-DAP: Interface Initialised (SWD)
Info : SWCLK/TCK = 1 SWDIO/TMS = 1 TDI = 1 TDO = 1 nTRST = 0 nRESET = 1
Info : CMSIS-DAP: Interface ready
Info : clock speed 500 kHz
Info : SWD DPIDR 0x2ba01477
Info : ATSAMG55J19.cpu: hardware has 6 breakpoints, 4 watchpoints
Info : starting gdb server for ATSAMG55J19.cpu on 3333
Info : Listening on port 3333 for gdb connections
At this point gdb, it is time to connect GDB.
In another terminal :
gdb-multiarch

# Connect to OpenOCD
(gdb) target extended-remote localhost:3333
Remote debugging using localhost:3333
OpenOCD should register debugger connection :
Info : accepting 'gdb' connection on tcp/3333
target halted due to debug-request, current mode: Thread
xPSR: 0x81070000 pc: 0x0040063a msp: 0x20003b00
Flashing the firmware
# load the compiled binary
(gdb) load getting-started_flash.elf
Loading section .text, size 0x462c lma 0x400000
Loading section .ARM.exidx, size 0x8 lma 0x40462c
Loading section .relocate, size 0xa48 lma 0x404634
Start address 0x00400e0c, load size 20604
Transfer rate: 15 KB/sec, 5151 bytes/write.

# Reset the target
(gdb) monitor reset
MCU is flashed and firmware is running !
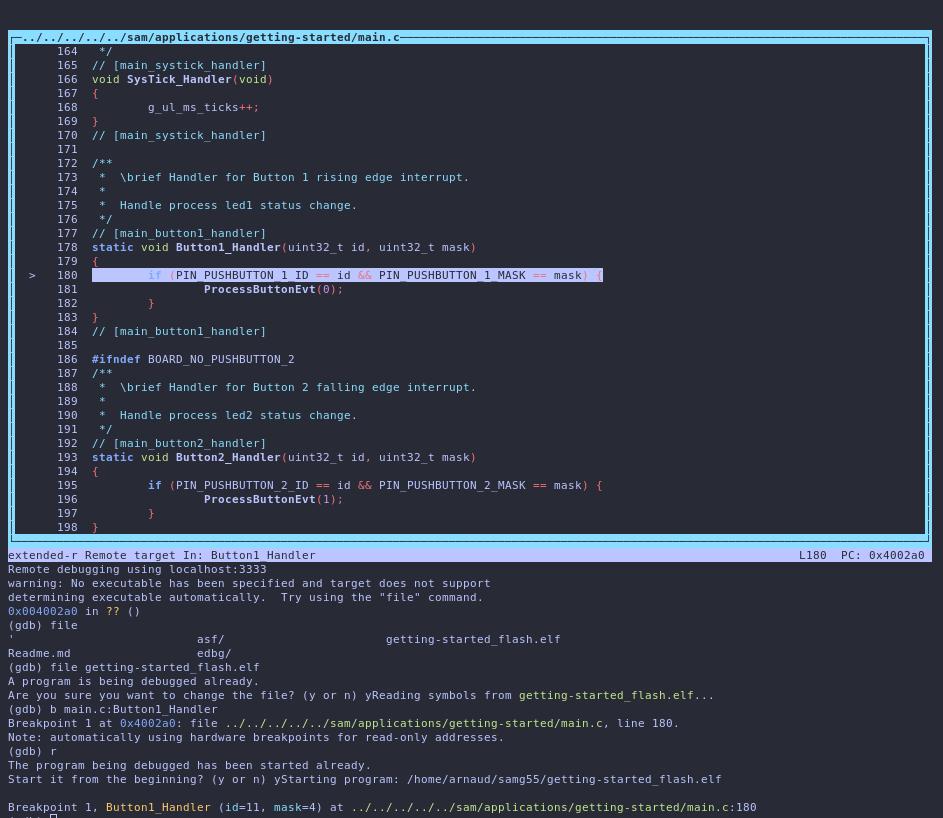
Debugging the firware
First firmware must be compiled with GDB debug symbols :
cd sam/applications/getting-started/samg55j19_samg_xplained_pro/gcc/
sed -i '/DBGFLAGS/ s/$/ -ggdb/' config.mk
make
Flash the debug firmware and load symbols in GDB :
(gdb) load getting-started_flash.elf

# Load symbol file
(gdb) file getting-started_flash.elf
It is now possible to use common GDB commands to debug the firmware.
This article cover the case of SAMG55 but can work on any supported SAM MCU with minor adjustments.